
Github Actions - a great introduction into CI/CD
Learn about one of the most important parts of DevOps in under 10 minutes


What is CI/CD?
CI (Continuous Integration) and CD (Continuous Delivery/Continuous Deployment) are practices within DevOps aimed at automating and streamlining the software development lifecycle to improve speed, quality, and consistency.
Continuous Integration
Continuous Integration is a development practice where developers frequently integrate their code changes into a shared repository, often several times a day. Each integration is automatically tested and validated through a series of automated tests to detect errors early. This approach allows for quicker detection and resolution of integration issues, which helps maintain code quality.
Continuous Delivery
Continuous Delivery is the practice of automatically preparing code changes for release to production. With CD, the codebase is always in a deployable state, allowing teams to release updates reliably and more frequently.
Continuous Deployment
Continuous Deployment is the next step after Continuous Delivery. Here, every code change that passes automated testing is automatically deployed to production without human intervention. Continuous Deployment allows for faster feedback and iterative improvement but requires very high test coverage and automation.
The classic cycle of pushing code looks like
Github Actions

GitHub Actions is a powerful tool for automating tasks and workflows directly within GitHub. It's integrated into the GitHub platform and is primarily used for Continuous Integration (CI) and Continuous Deployment (CD), though its capabilities go far beyond that.
Key features of Github Actions
Automate your workflows: Automate software development workflows like testing, building, and deploying code.
Event driven workflows: Trigger workflows based on GitHub events, such as pushes, pull requests, releases, or even at scheduled times.
Customize to your liking: Define workflows using YAML files in a
.github/workflowsdirectory within a repository.Reuse and save time: Create or use existing actions shared by the community to simplify workflow design.
Matrix Builds: Run jobs in parallel for multiple combinations of environments, dependencies, or configurations.
Manage secrets safely: Securely store and use sensitive information like API keys and credentials.
Built-in Logs: Access detailed logs for debugging and performance analysis.
Github Actions is a great solution to make things happen on a specific schedule or when changes are made to your code. This can involve sending messages, enforcing rules on the pull requests, performing tests, building and releasing code just to name a few.
Structure of Github actions workflow

A workflow is defined in a YAML file and consists of the following parts:
Name: Optional, used for identifying the workflow.
Trigger: Defines when the workflow should run (e.g.,
push,pull_request, orschedule).Jobs: Workflows consist of one or more jobs that run in parallel or sequentially.
Steps: Each job has multiple steps, which include actions or shell commands.
Here’s an example of a very basic Github Action workflow
# .github/workflows/basic-workflow.yml
name: Basic Workflow

on:
  push:
    branches:
      - main

jobs:
  build:
    runs-on: ubuntu-latest

    steps:
      - name: Checkout Code
        uses: actions/checkout@v3

      - name: Print Hello World
        run: echo "Hello, World!"
Let’s play with Github Actions
I’ve created a template repository to make it easy for you to play and experiment with Github actions. Just navigate to this template repository on Github and select the button on the top right that says, “Use this template” and then select “Create a new repository”

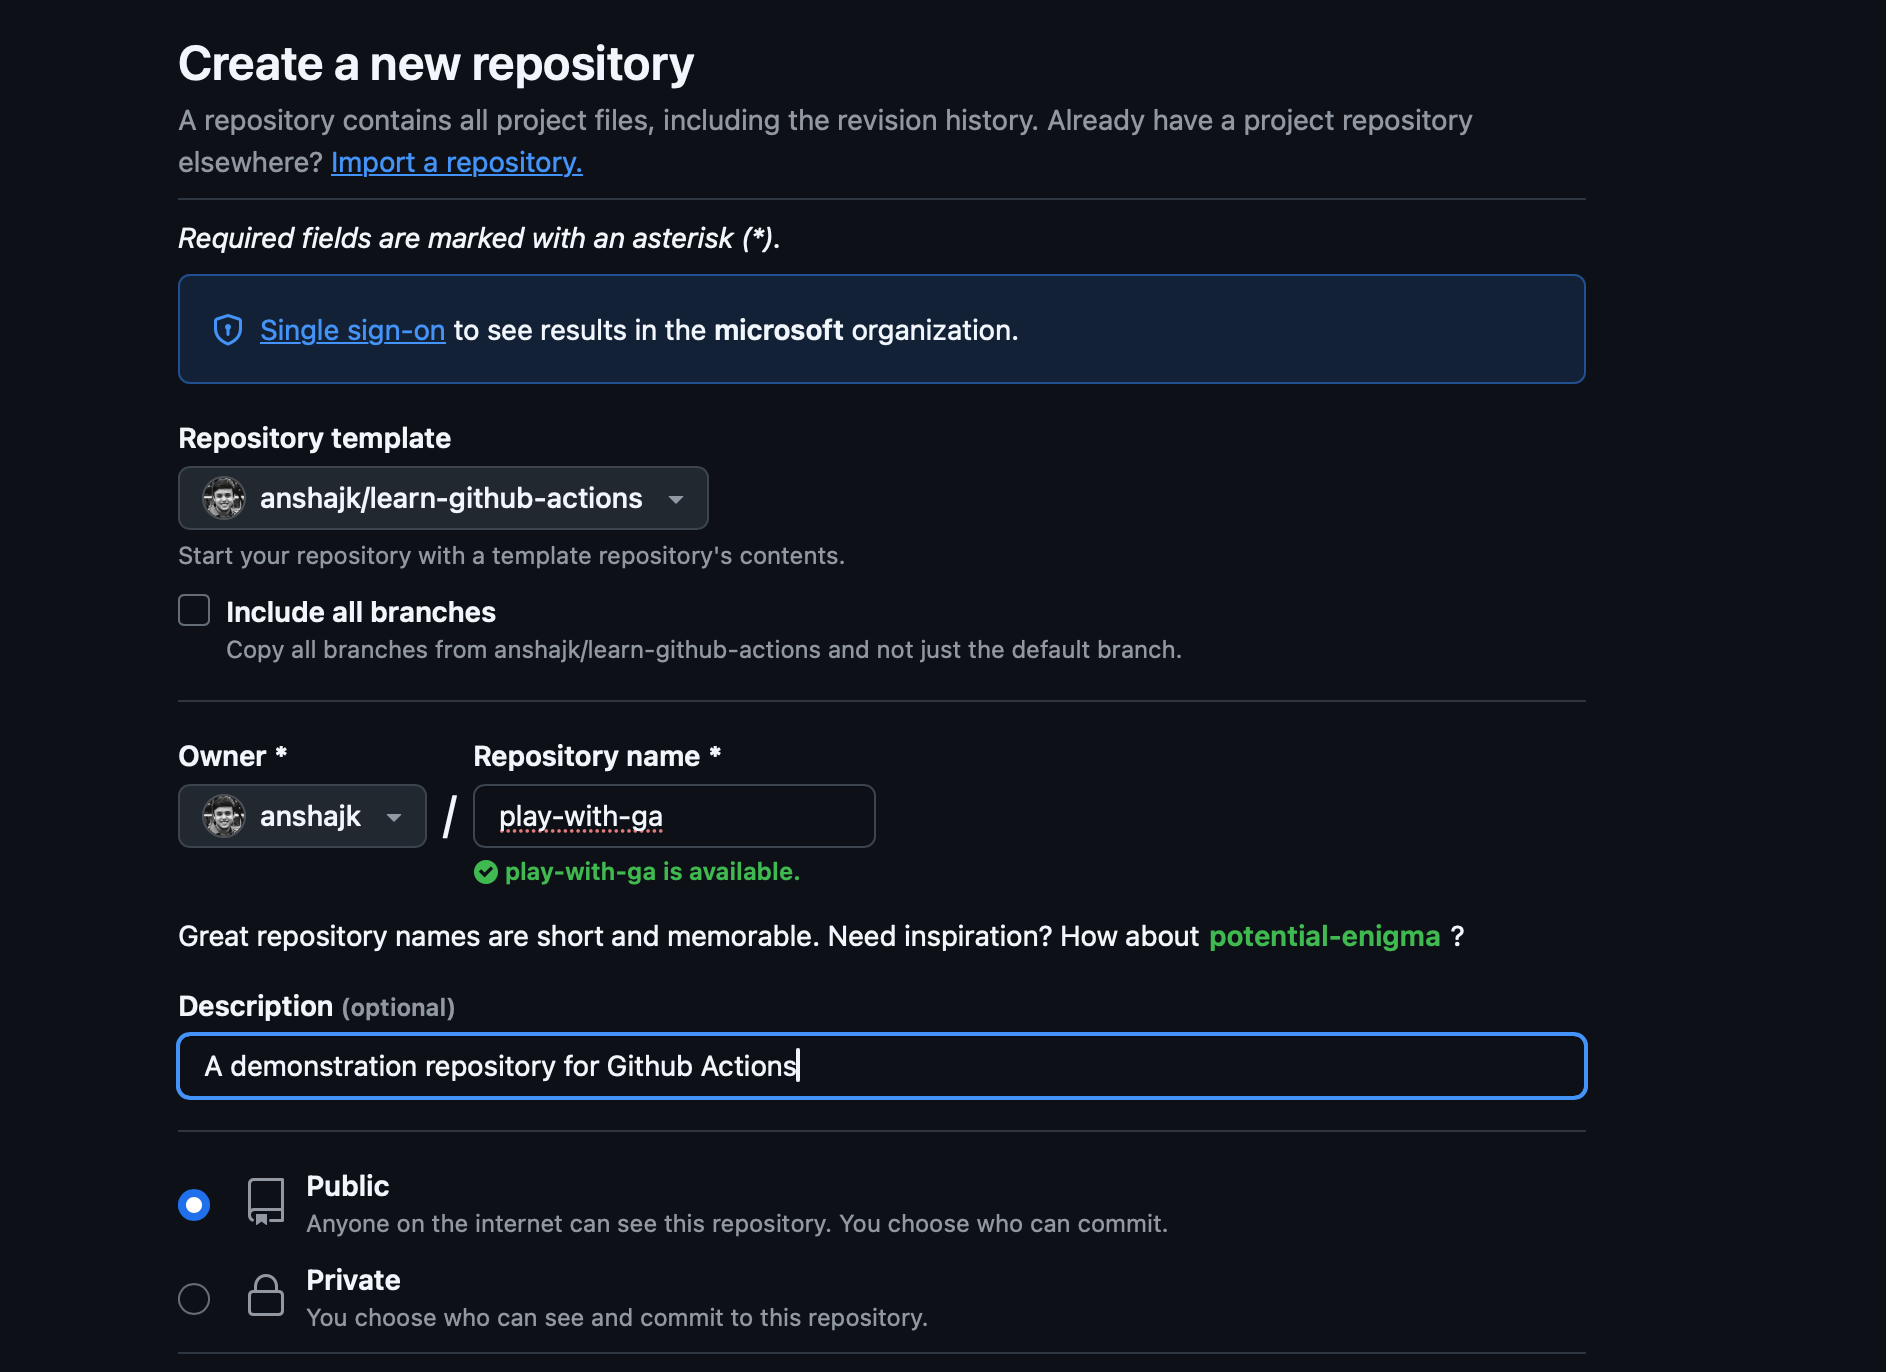
Provide a name for your repository like how I do it in the screenshot below and then create your repository.
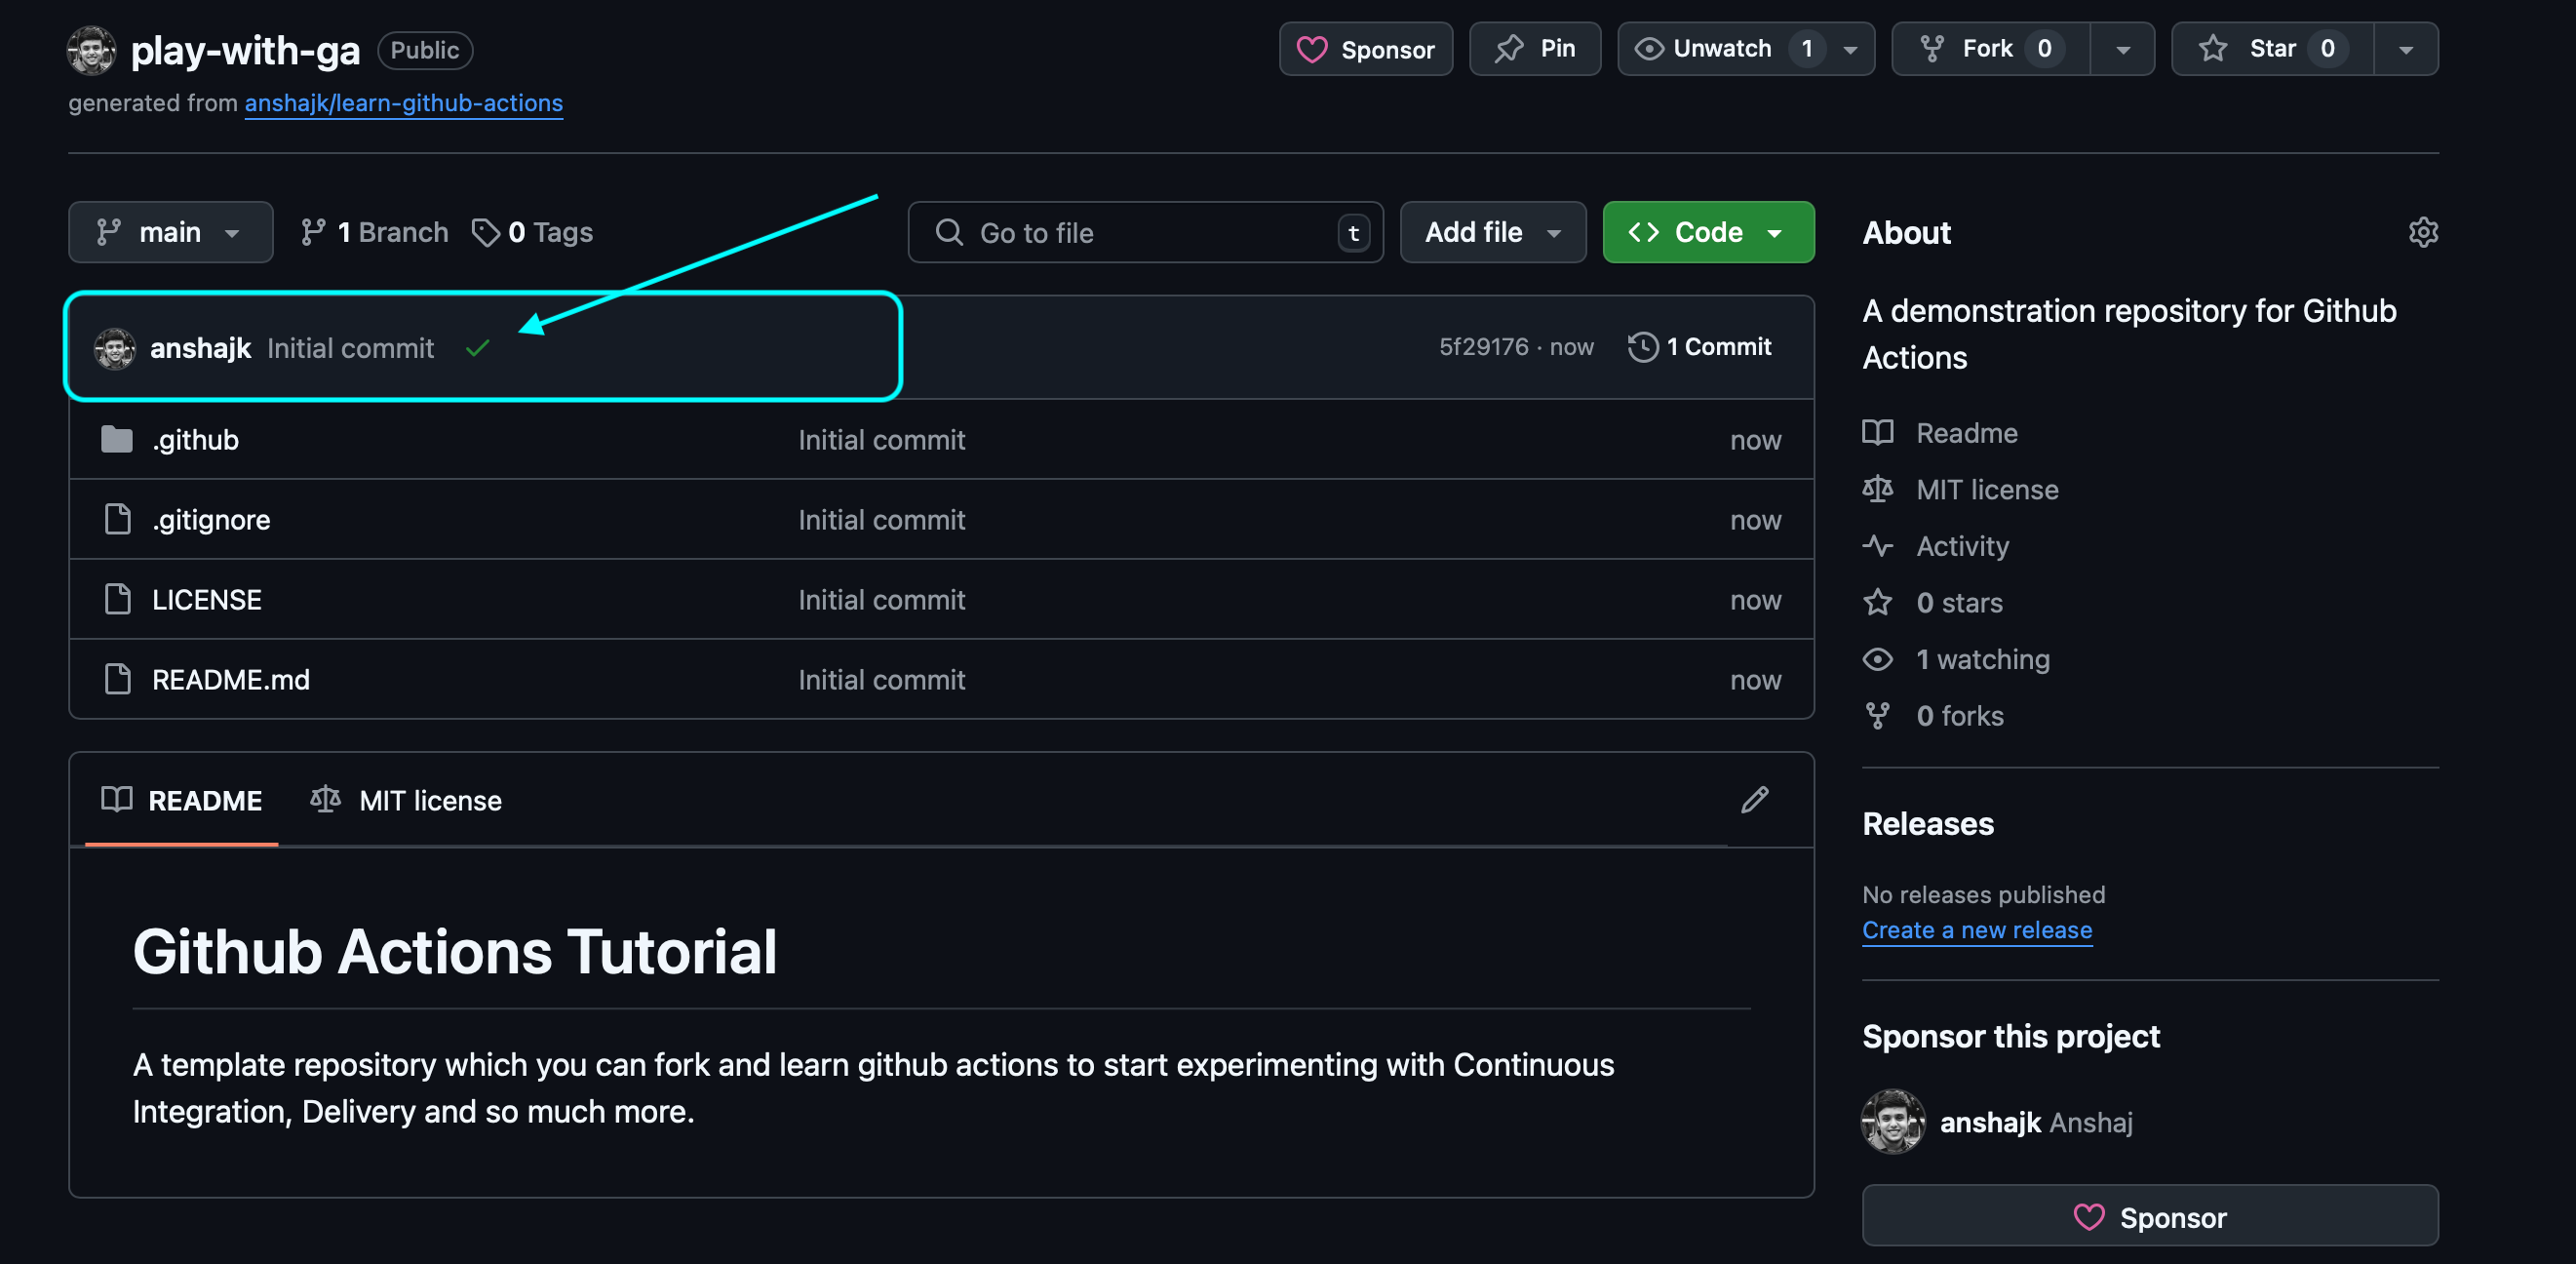
A few seconds after creating your repository, refresh your browser and you should see a green tick, denoting the first run of your Github action
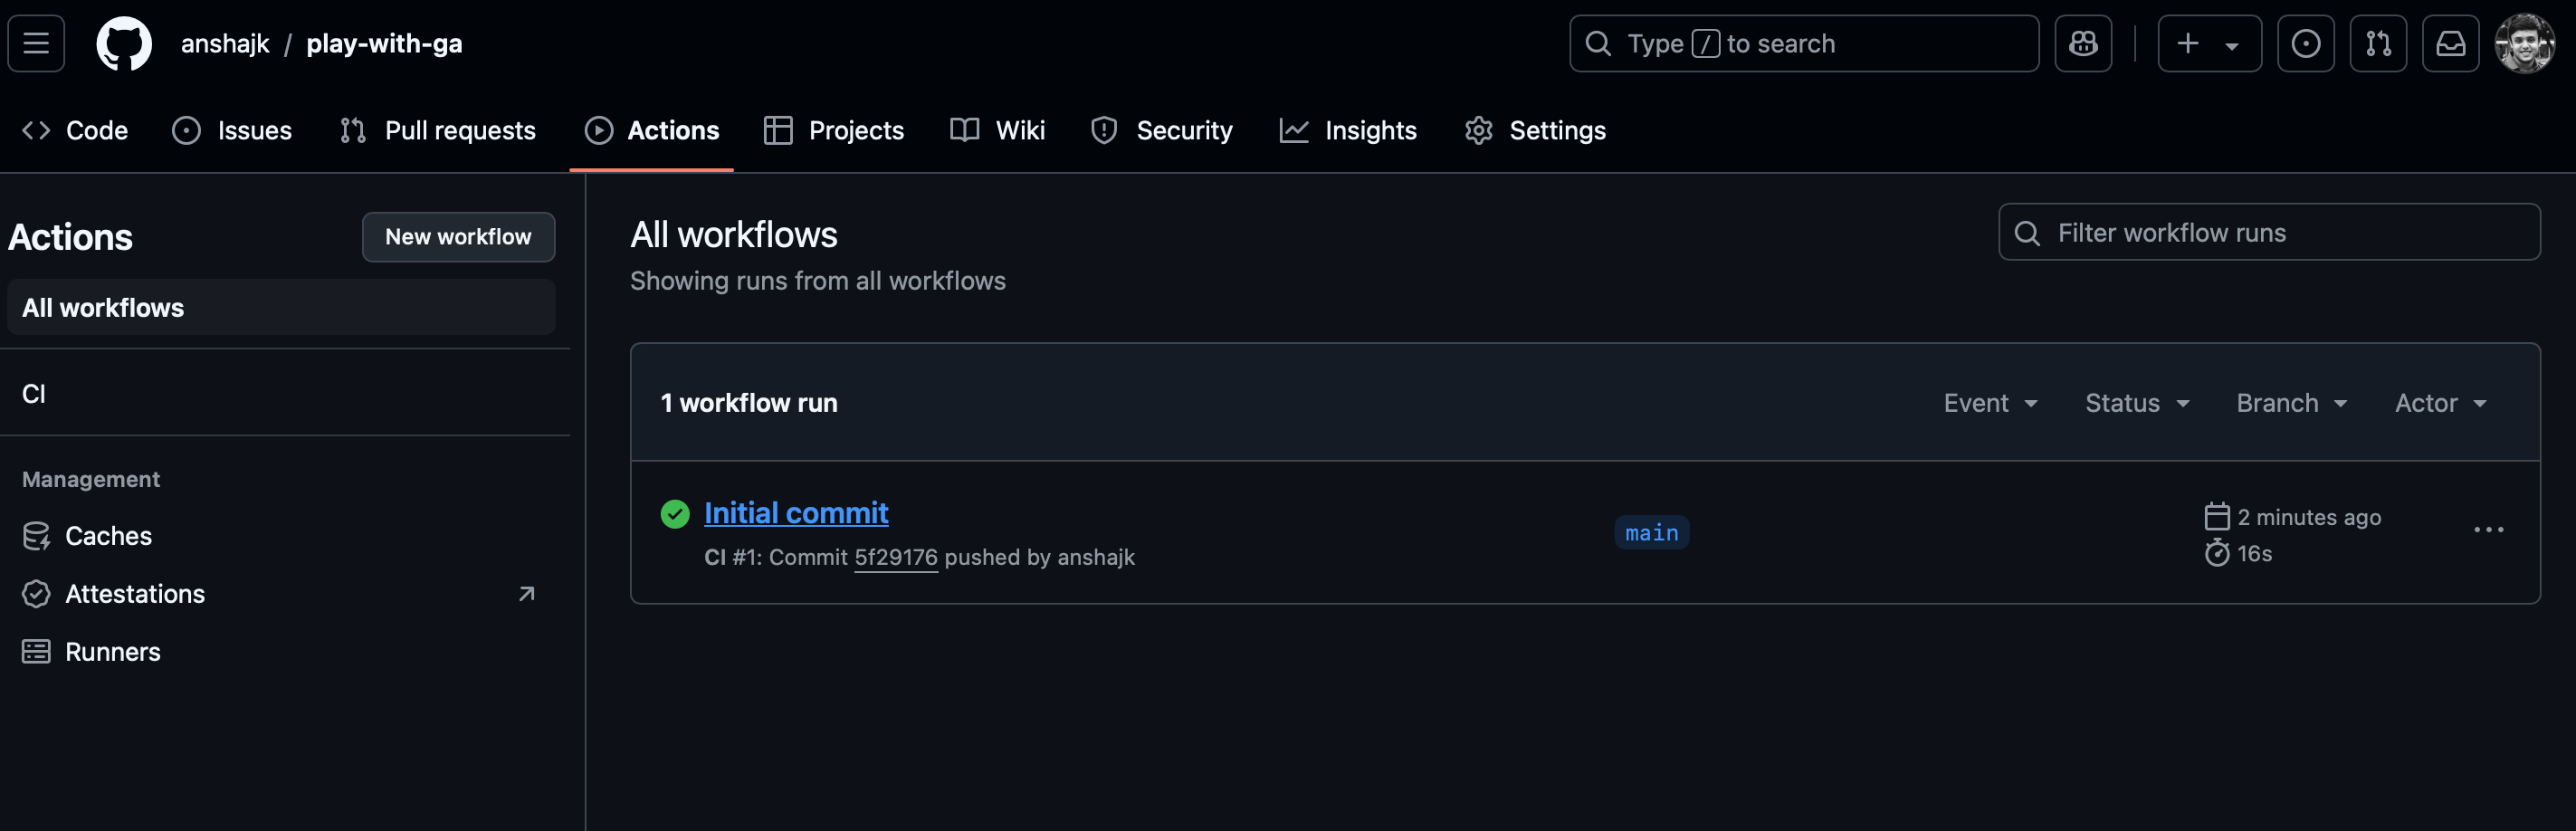
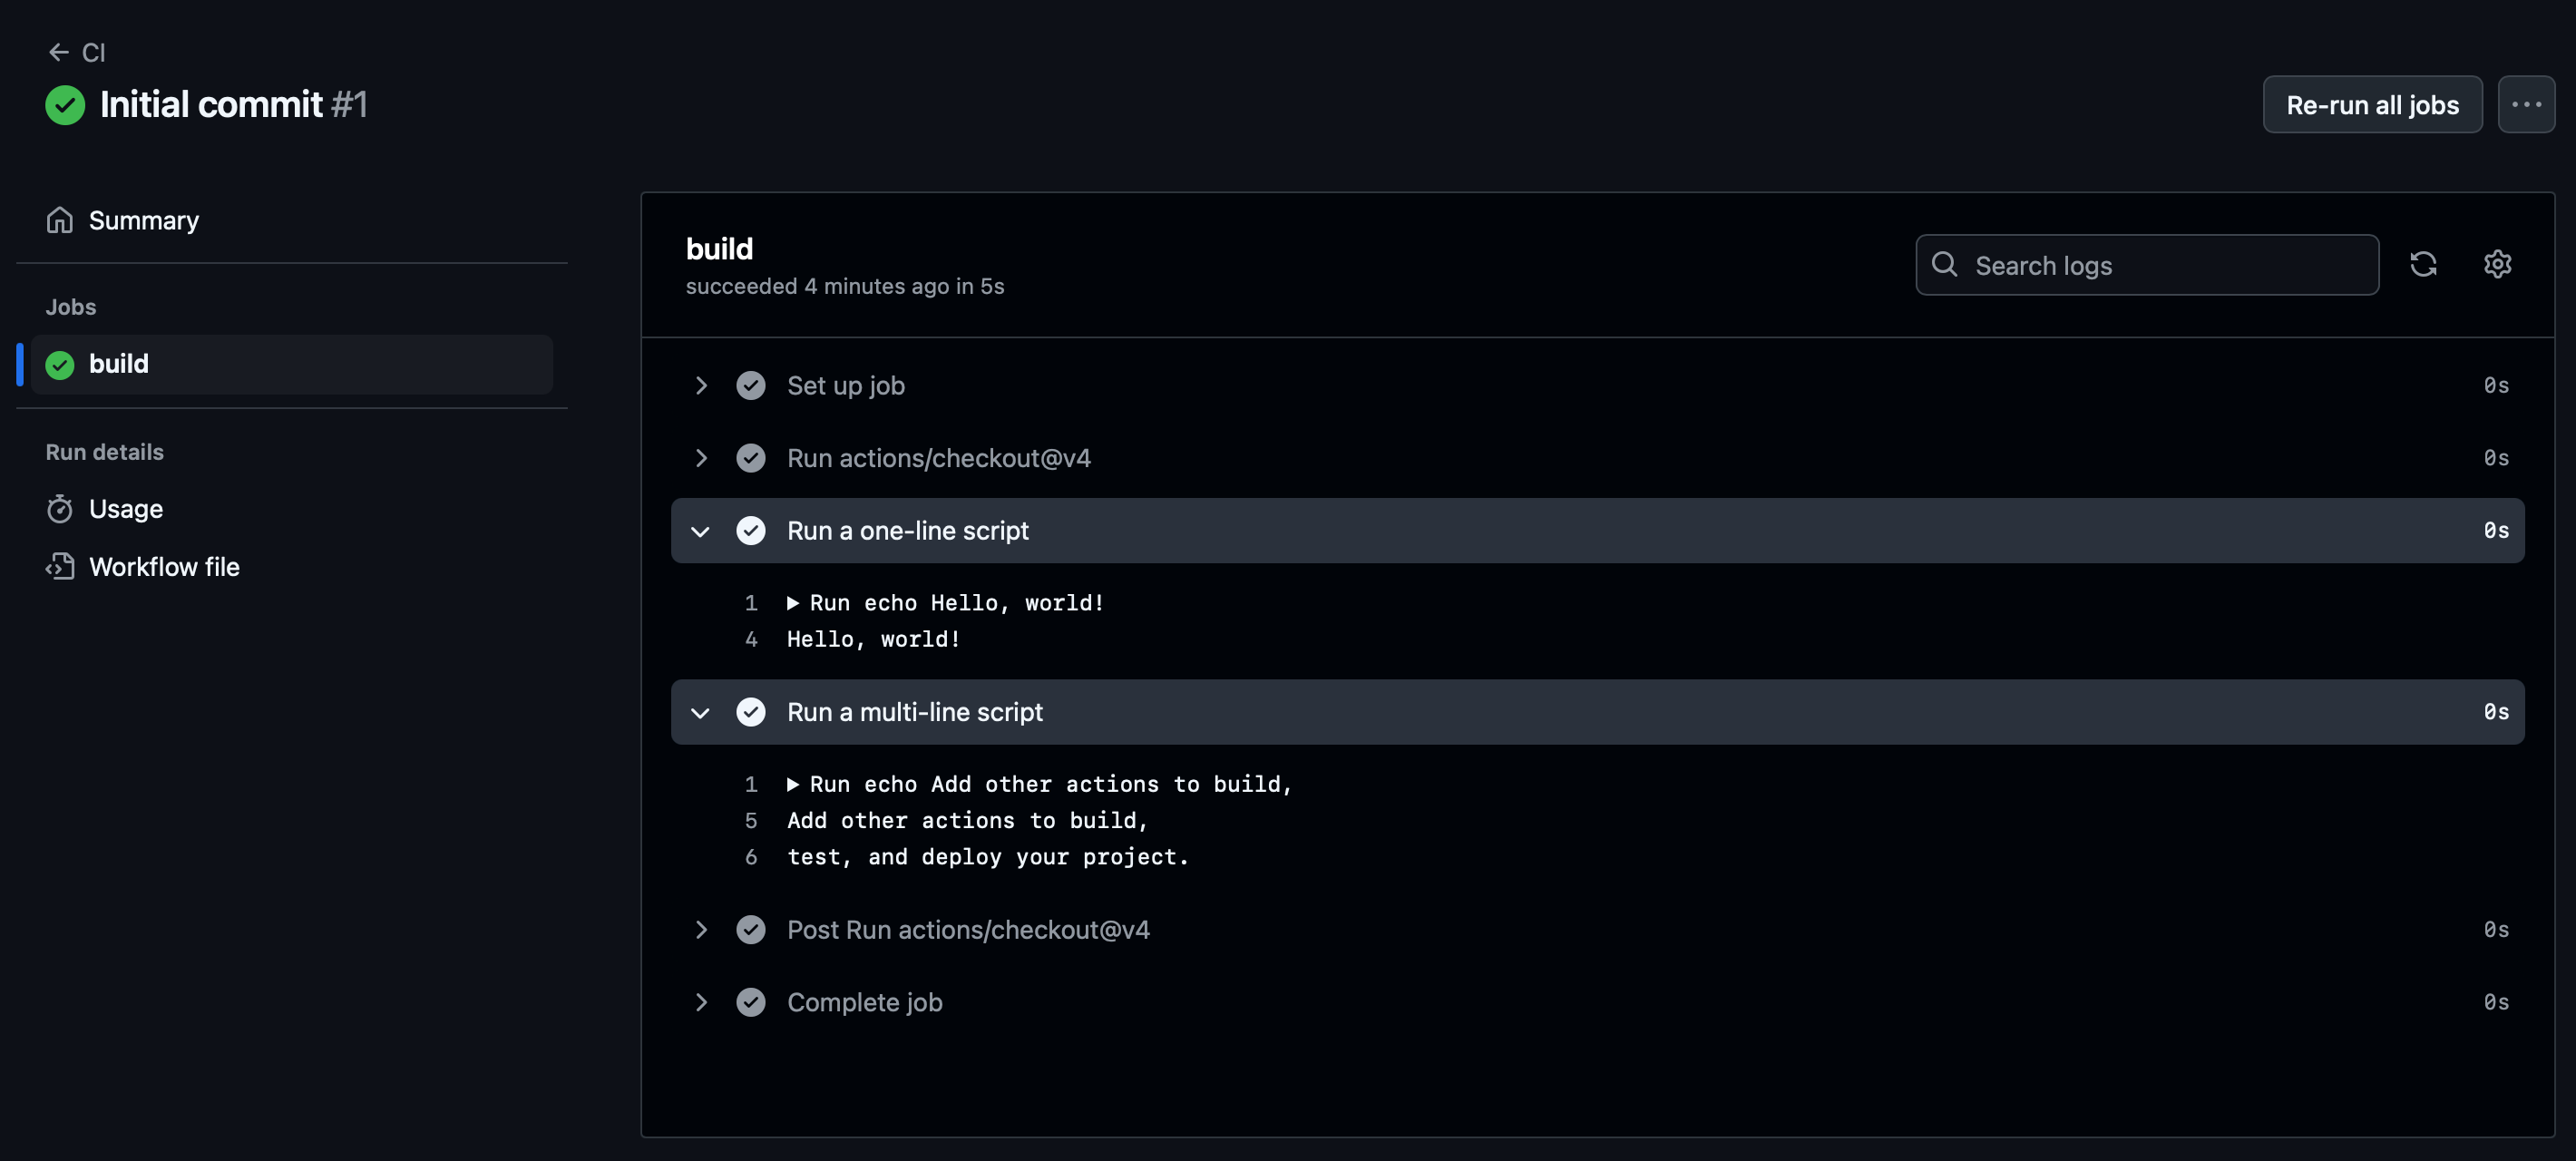
Navigate to the actions tab in your newly created repository and you’ll see the full details of the run of your workflow.
Once you navigate into the details of your workflow run, you’ll find that some basic echo commands were called from your runtime, like in the screenshot below. This is because the repository that I’ve provided to you as a template, contains a basic workflow, the purpose of which is to print “Hello world” and run a multi-line script.
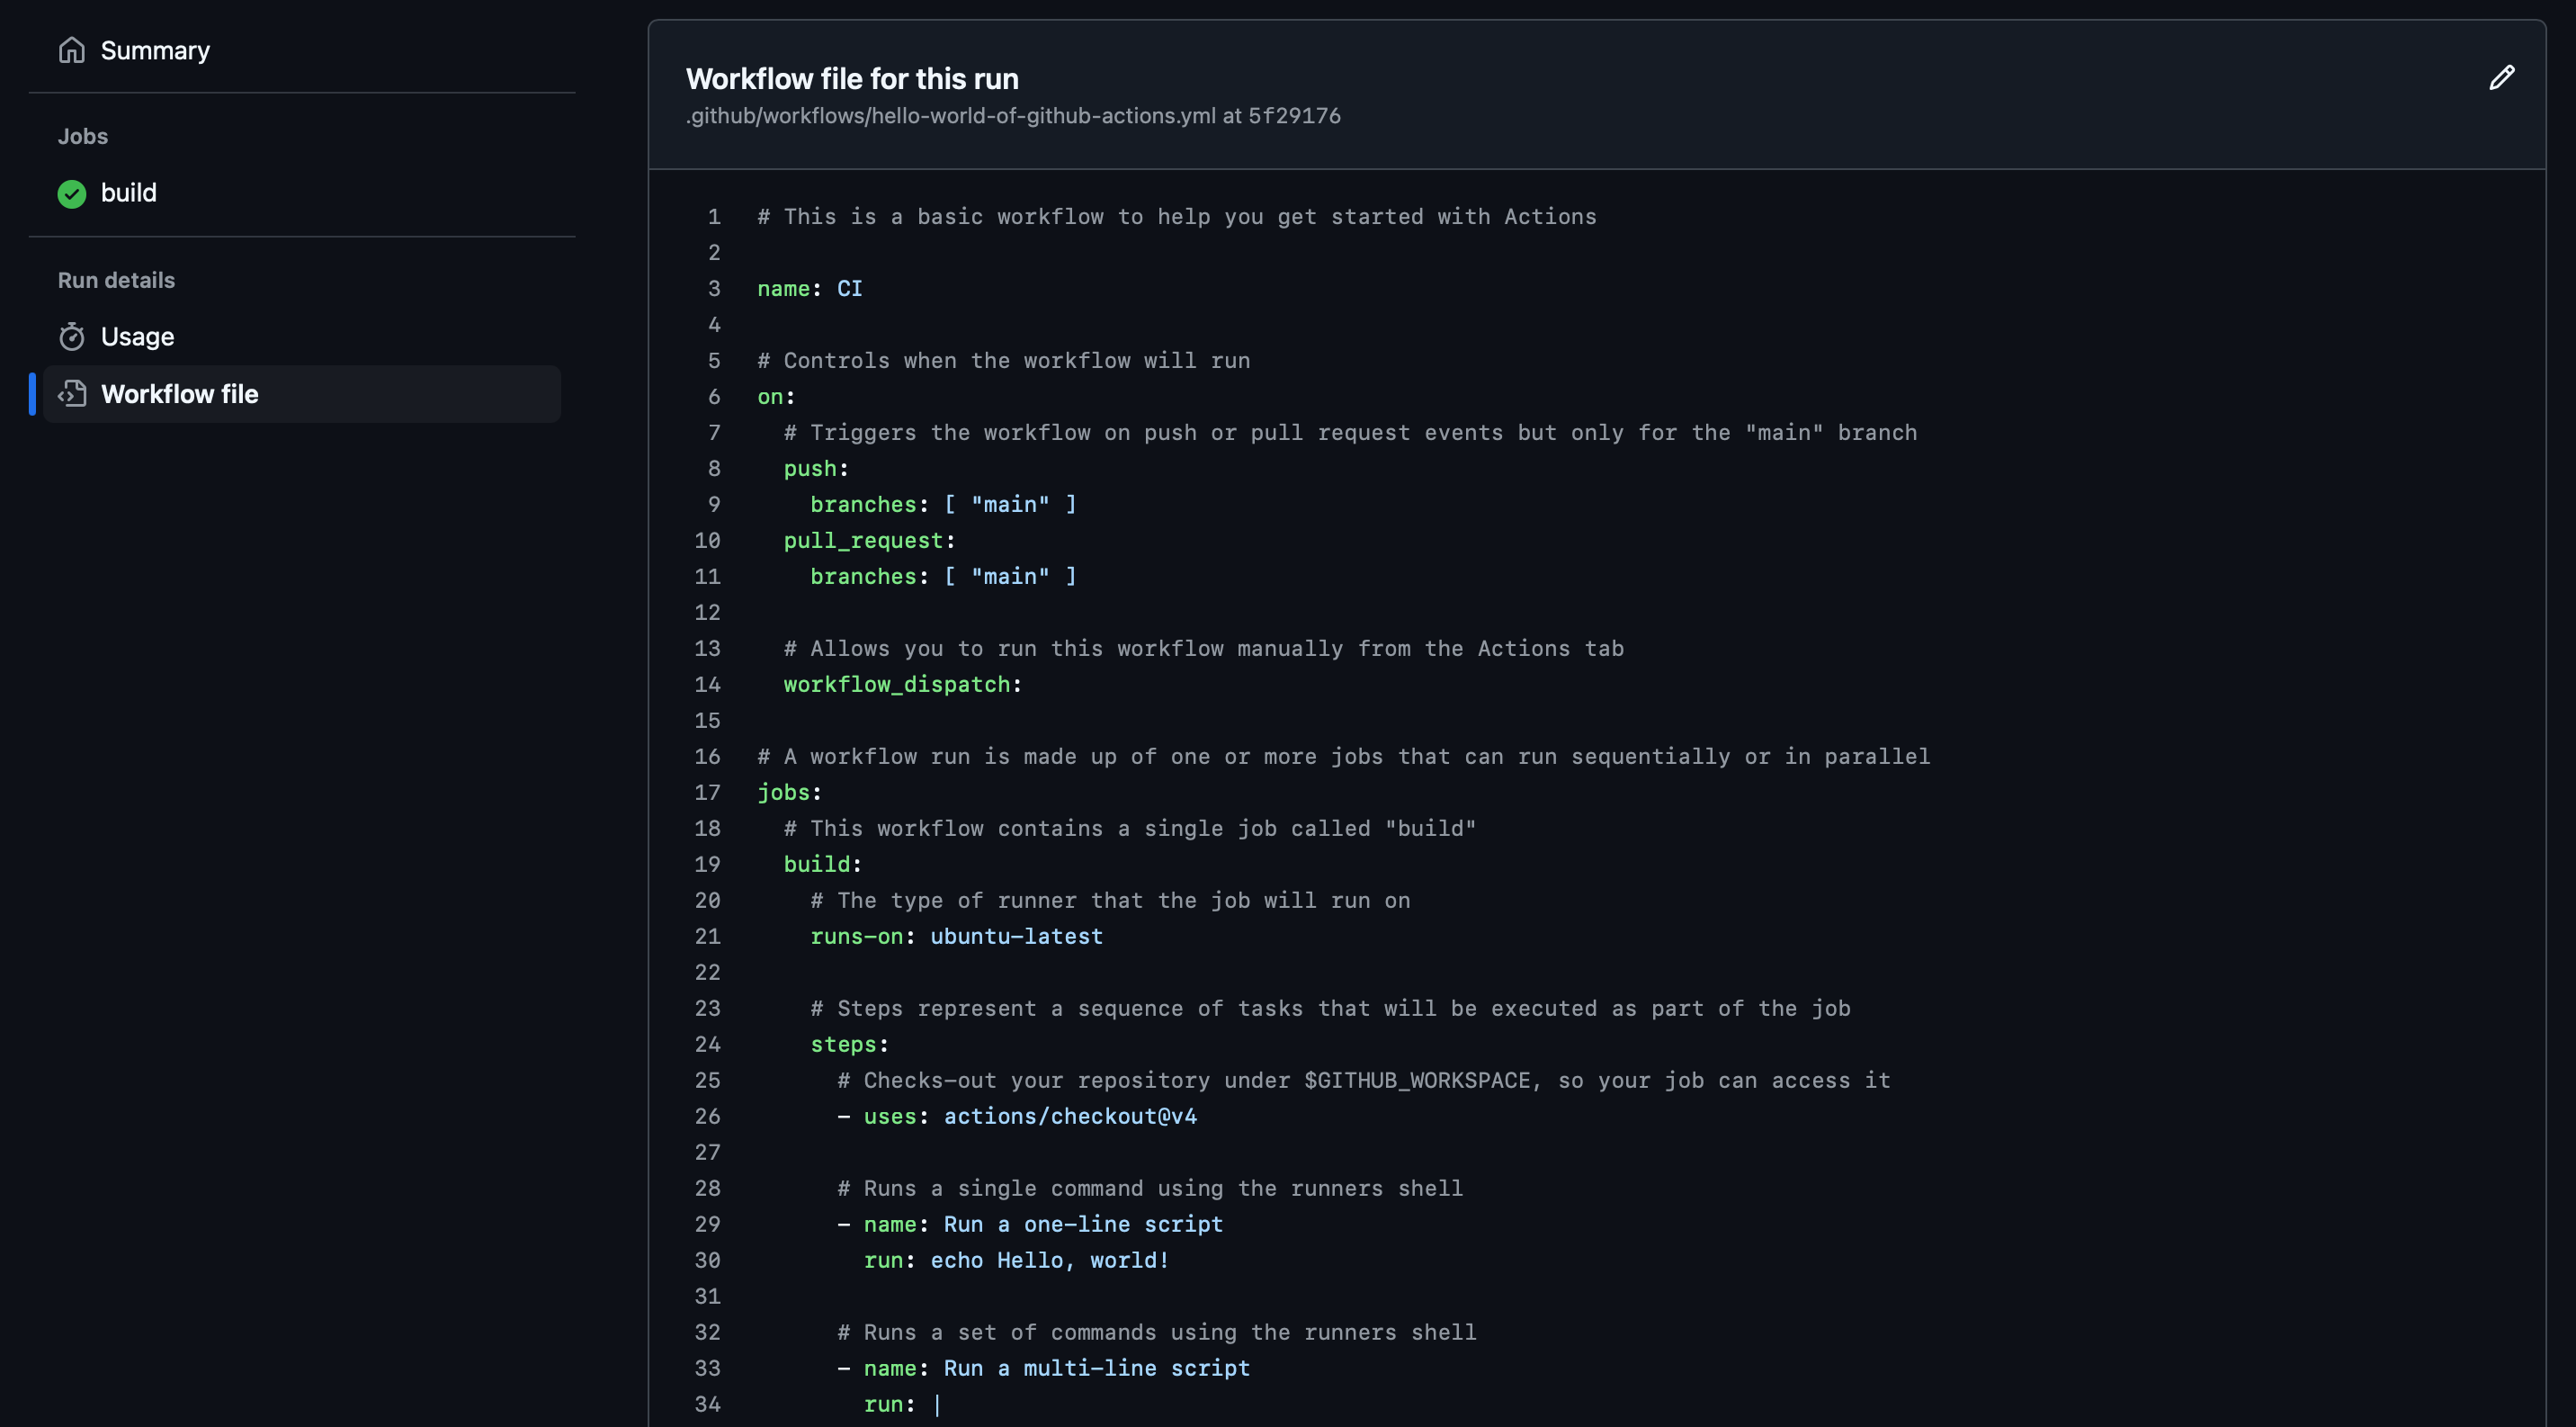
If you’d like to change and experiment with this workflow, just edit the workflow file for the Github actions and experiment away
Now that you have access to a runtime, setting up builds and releases is simply a matter of adding the right jobs and the right dependencies. Feel free to modify this script to your liking and try building some source code in the language of your choice in your newly created repository. Good luck!